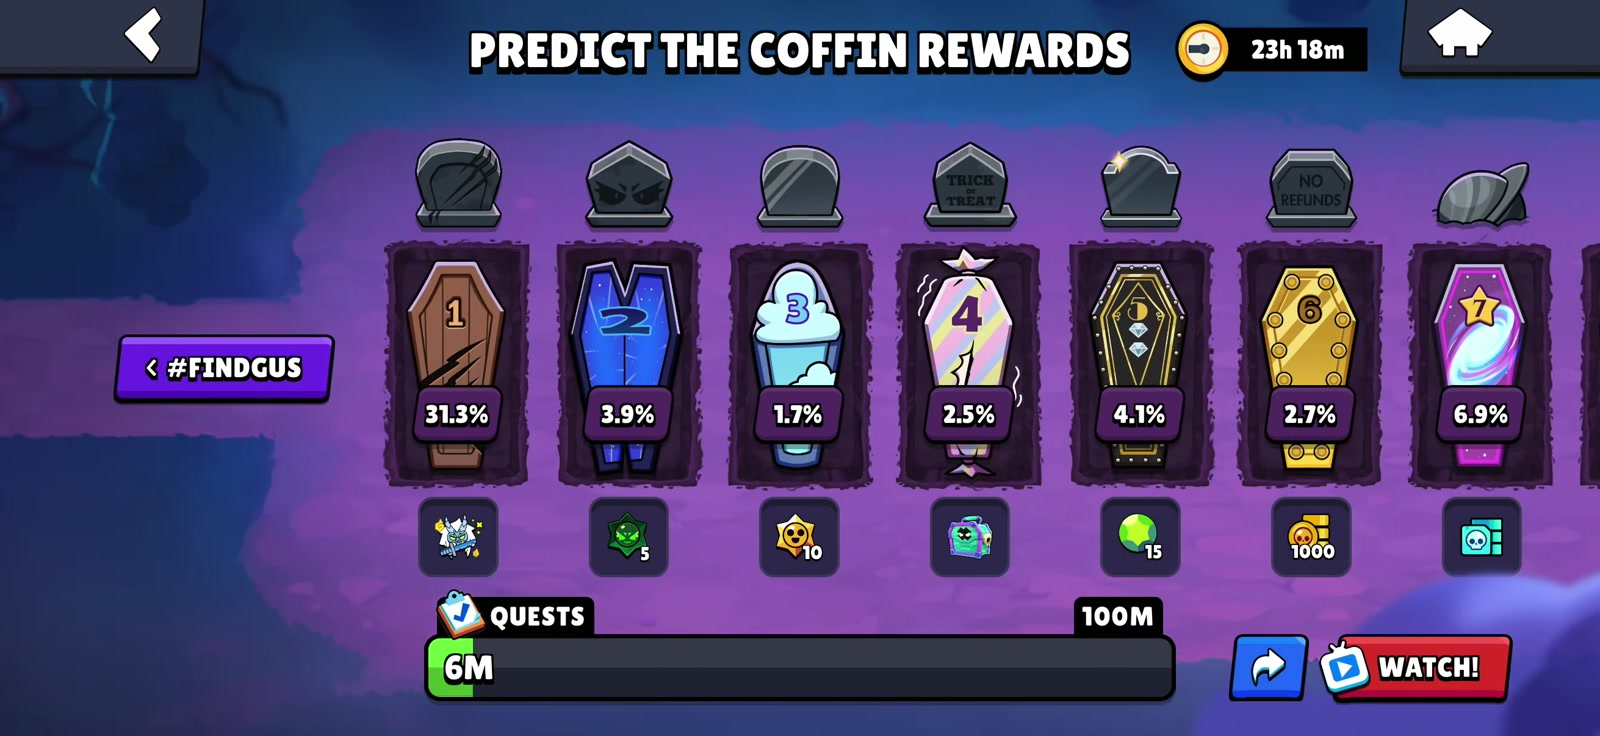
Scary Coffins: vote, predict & earn rewards
All 24 possible rewards, coffin clues and how to earn a Chaos Drop for a correct prediction.
Read the Scary Coffins guide →


 #FINDGUS
Find Gus Stage 3: Laboratory guide & Hallway secrets
To solve the Find Gus Laboratory puzzle in Brawl Stars, build Belle's lightgun, mix the chamber colors, assemble Piper and follow Belle's generator orders. Collect the bonus Piper pin between the two rounds, then take the gun back to the Hallway in Mortis' Mortuary for the 3:00 clock reward and the hidden wall safe.
 Laboratory: Chaos Drop
 Bonus: Piper pin
 Hallway clock: Starr Drop
 Wall safe: 100 Power Points
Updated . Screenshots show our completed Laboratory and Hallway return runs.
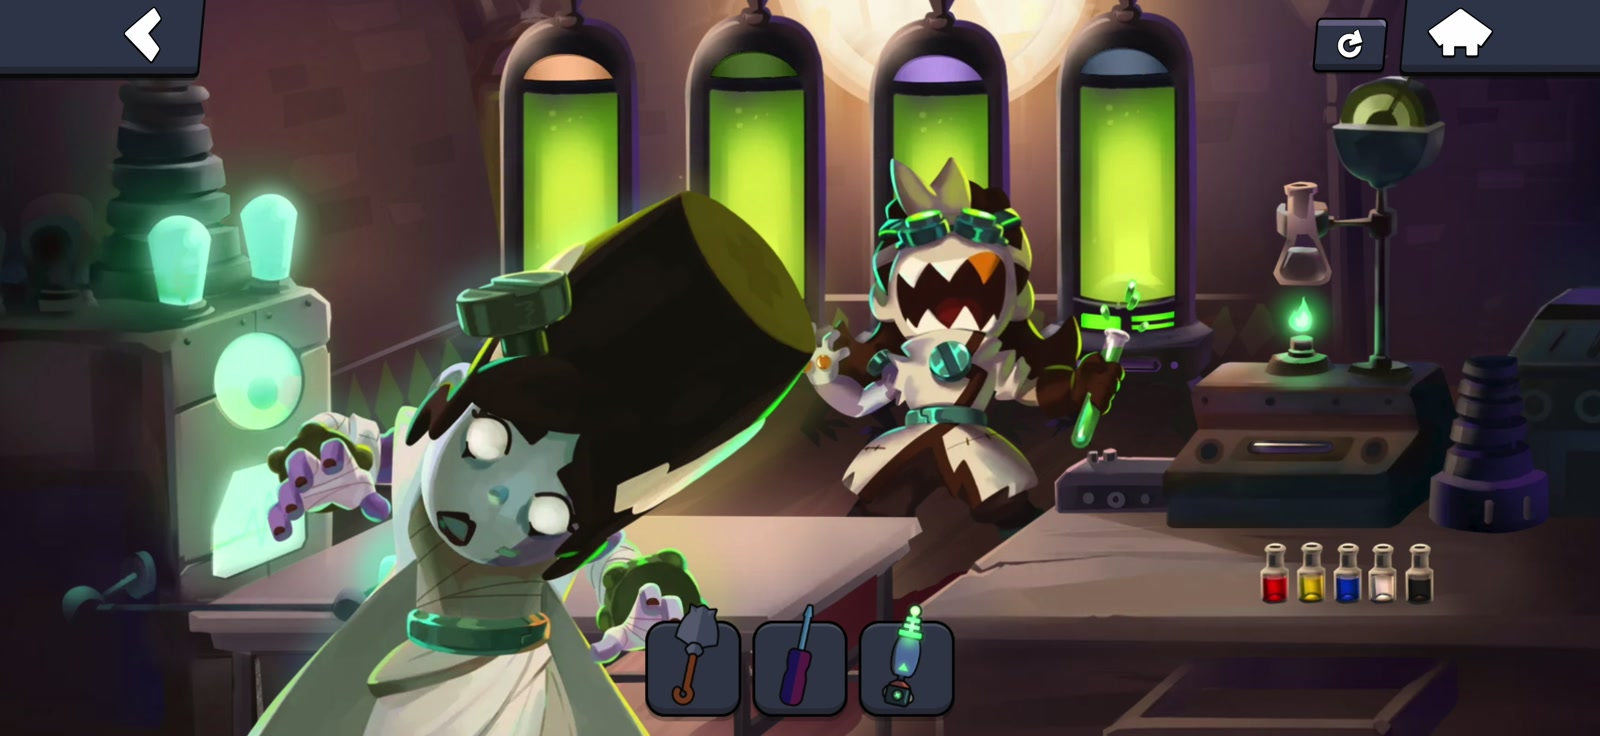
How to unlock the Find Gus Laboratory
Complete the earlier entrance puzzle and Hallway puzzle, then win three battles on the Laboratory unlock day (October 5). Open the Laboratory from the Mortuary map and finish Belle's opening dialogue.
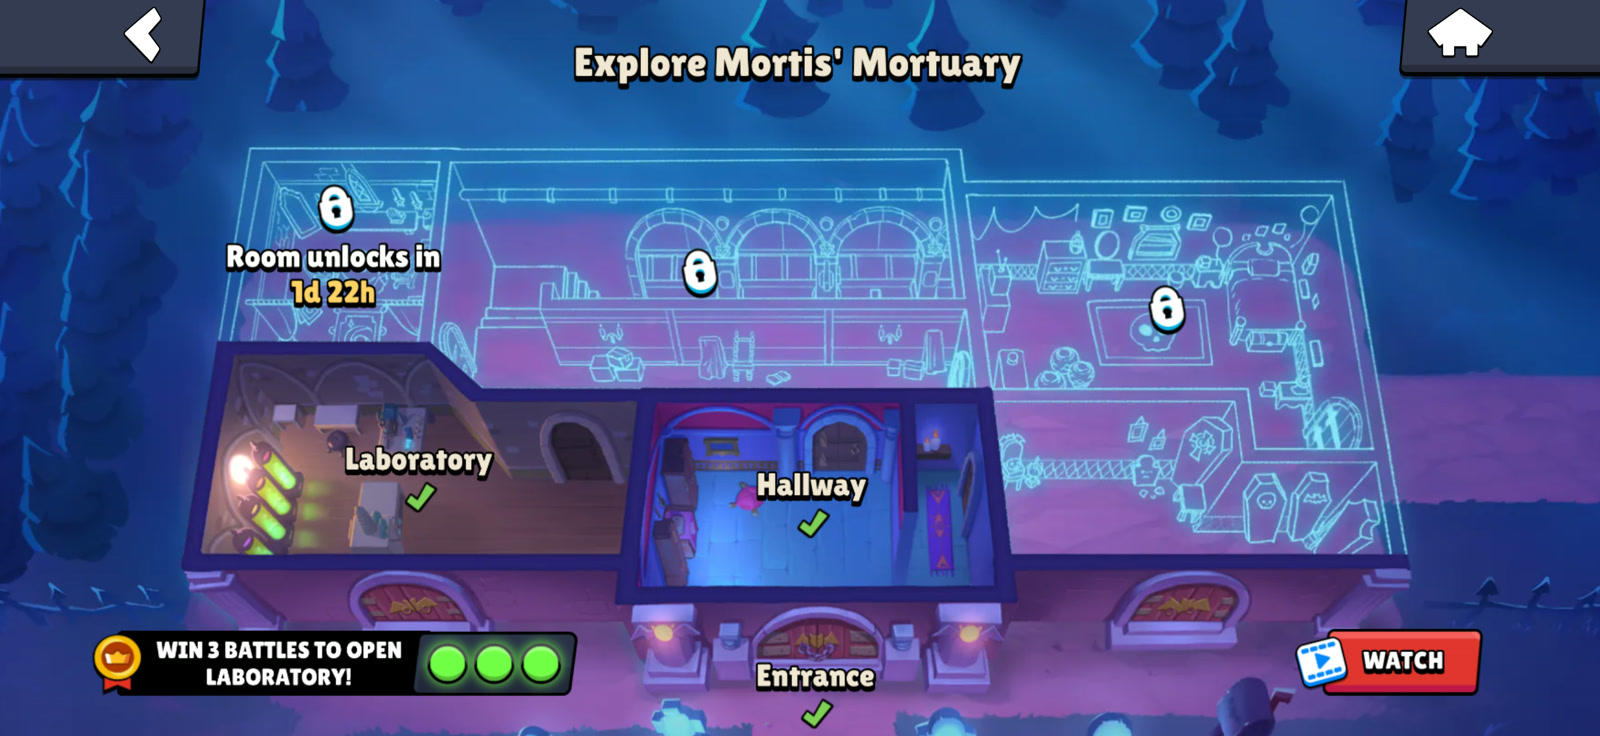
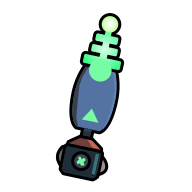
1. Find the three parts and build Belle's lightgun
All three parts are around the right-hand workbench:
- Tap the small electrical device immediately left of the mixing machine to reveal a part.
- Tap the tall coil on the far right to reveal another part.
- Open the drawer beneath the right-hand bench for the remaining part.
Drag one part onto another to combine them, then drag the third part onto the assembly. Tap the completed gun to add it to your inventory.
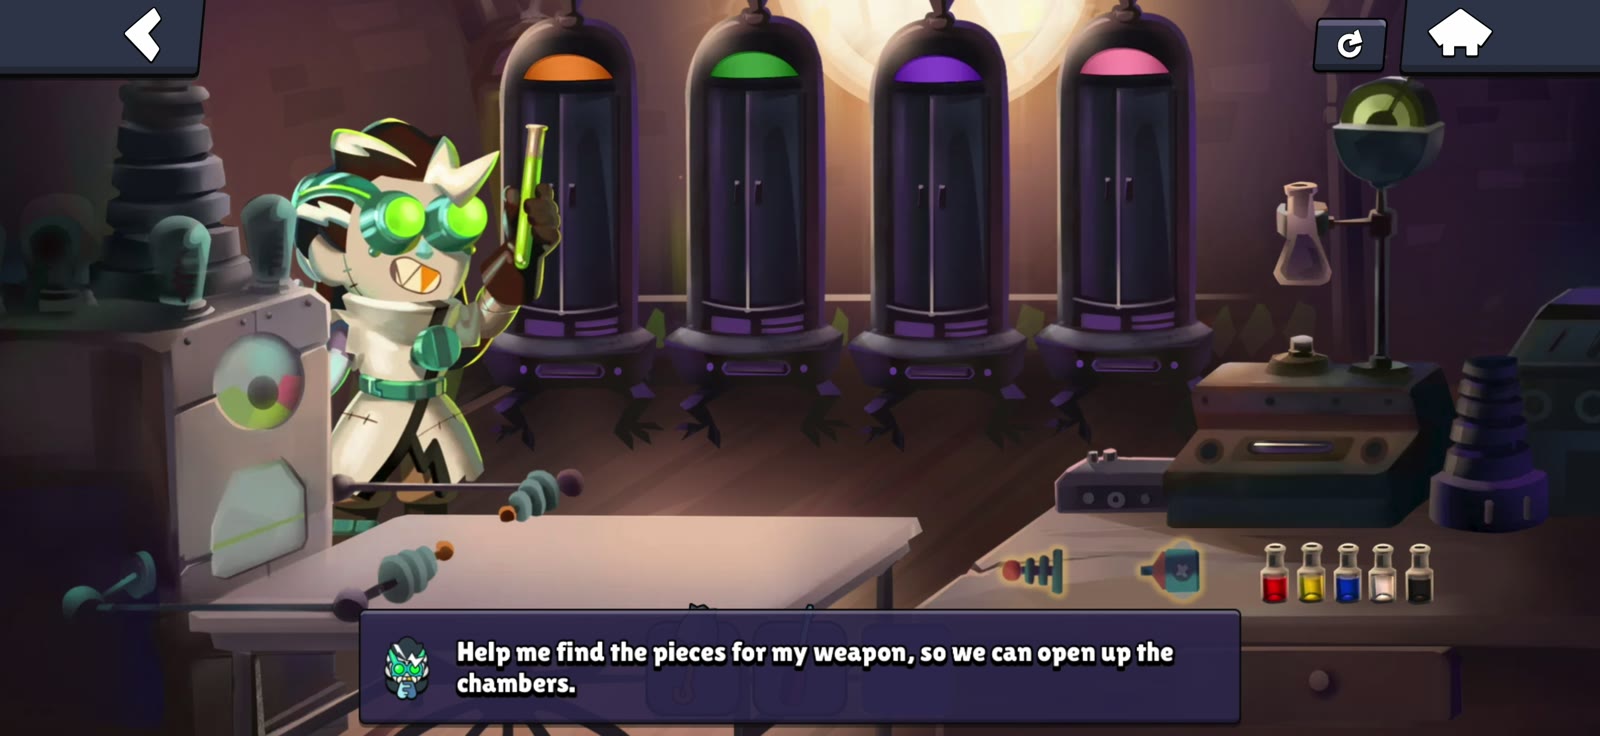
2. Light the burner and mix the first chamber colors
Select the lightgun and use it on the burner beneath the hanging beaker. A green flame appears. You can now drag the colored bottles into the beaker.
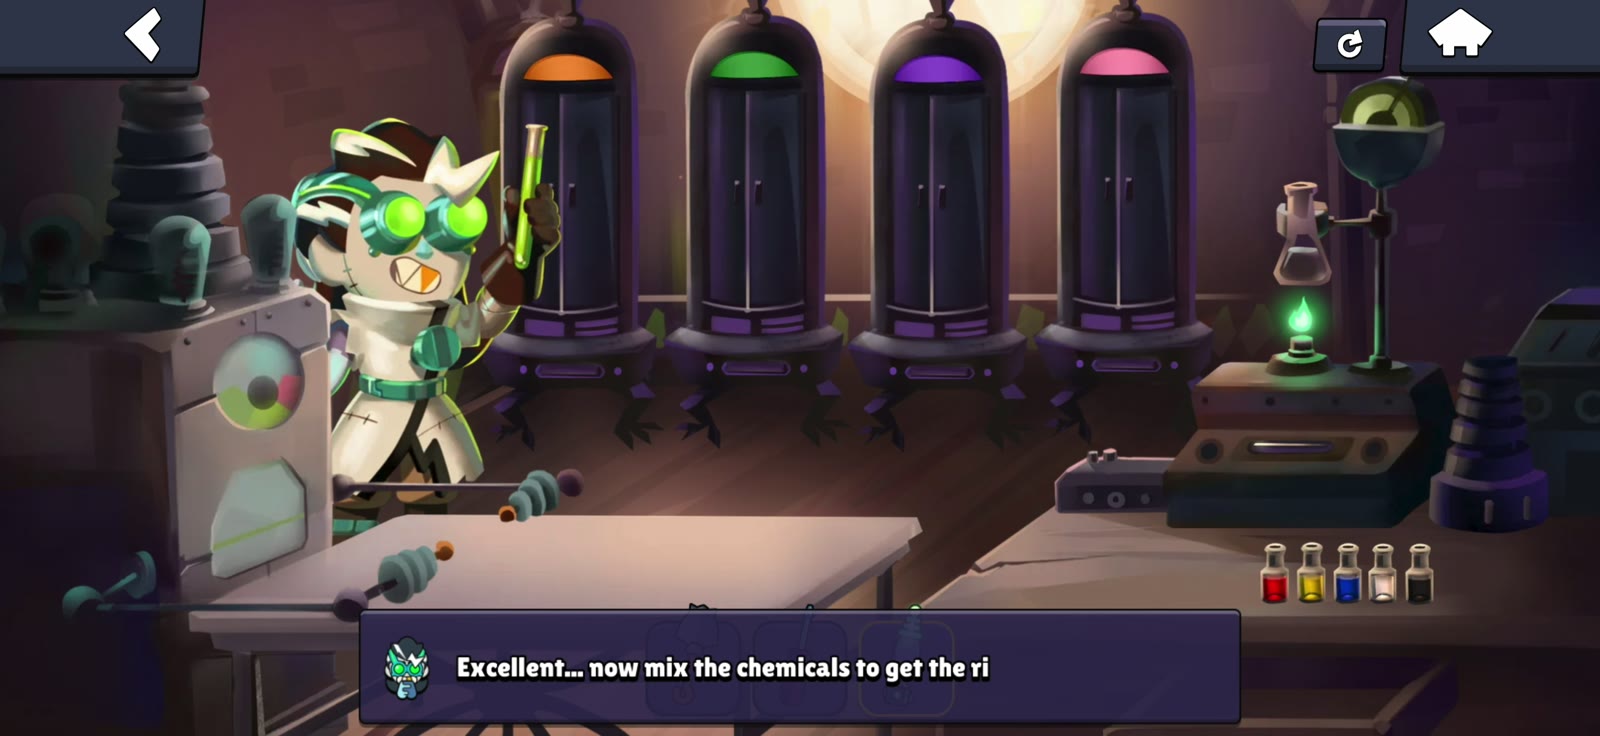
Number the chambers 1 to 4 from left to right. Each needs the color shown by its top lamp:
| Chamber | Target | Mix these bottles |
|---|---|---|
| 1 (left) | Orange | Red + Yellow |
| 2 | Green | Yellow + Blue |
| 3 | Purple | Red + Blue |
| 4 (right) | Pink | Red + White |
- Drag the two bottles for one recipe into the beaker.
- Tap the beaker to dispense the mixture into the small horizontal vial on the machine.
- Drag that vial to the slot beneath the matching chamber.
- Select the lightgun and zap that chamber's generator to open it.
- Repeat for the other three colors.
A loaded vial alone does not open a chamber: you must zap it too. If you made the wrong mixture, drag the filled carry vial back onto the beaker to discard it, then make a fresh batch.
3. Assemble Piper and follow Belle's generator order
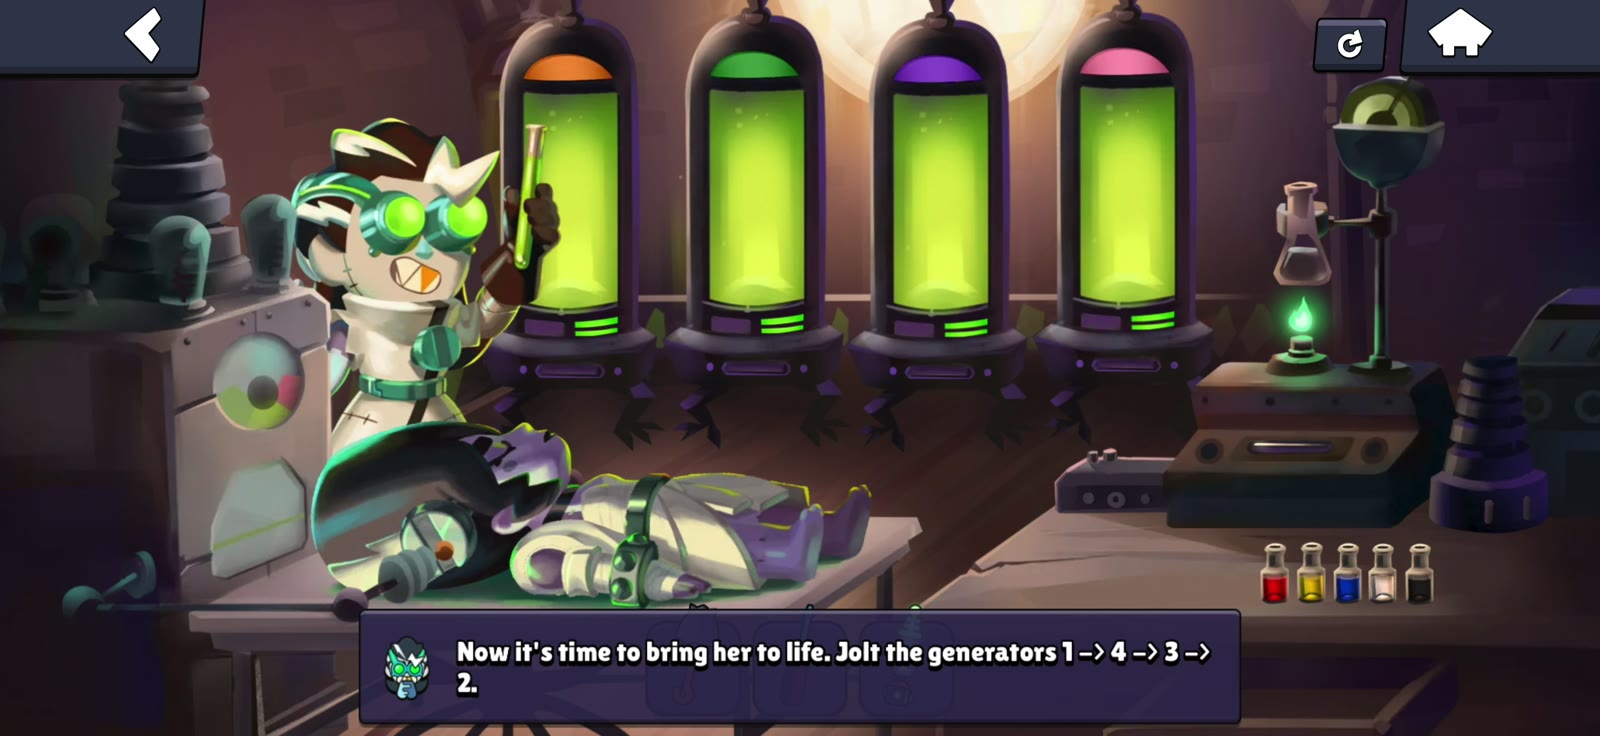
The chambers contain Piper's head, arms, legs and body. Drag each part onto the large table on the left. Once all four parts are in place, Belle gives you a four-number order.
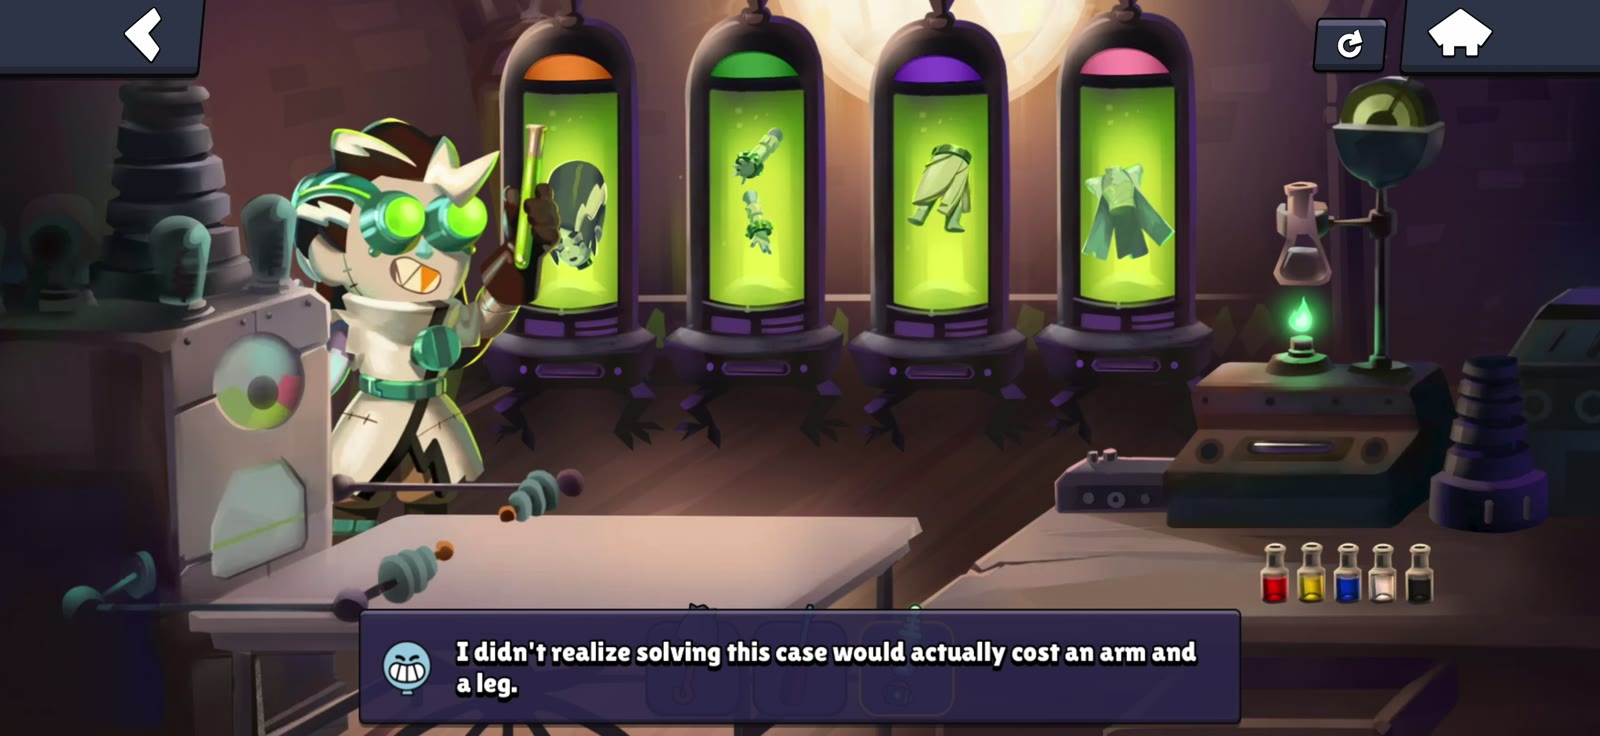
Select the lightgun and zap the green generator panels at the bottom of the four chambers in the order Belle displays. Generator 1 is far left; generator 4 is far right.
The order is randomized. Our first sequence was 1 → 4 → 3 → 2, but use the numbers in your own dialogue. Tap Belle or the table to see the order again. A wrong jolt resets your progress through that sequence.
Bonus: get the Piper pin before starting round 2
After completing Belle's first generator sequence, the chamber lamps change and three-color mixing unlocks. Before following the normal round-2 recipes, use this bonus combination to unlock the Piper pin.
| Chamber | Mixture | Mix these bottles |
|---|---|---|
| 1 (left) | Pink | Red + White |
| 2 | Peach | Red + Yellow + White |
| 3 | Lavender | Red + Blue + White |
| 4 (right) | Navy | Blue + Black |
- Mix each recipe in the beaker, then tap it to fill the carry vial.
- Drag each vial into its matching chamber slot, from left to right.
- Do not zap the chambers. Leave all four bonus mixtures loaded together.
- Once the fourth mixture is in place, collect the Piper pin reward.
If you can only add two colors, you are still in round 1. Assemble Piper and finish the first generator sequence before trying this recipe. Do this before completing the Laboratory, while the chamber slots are unobstructed.
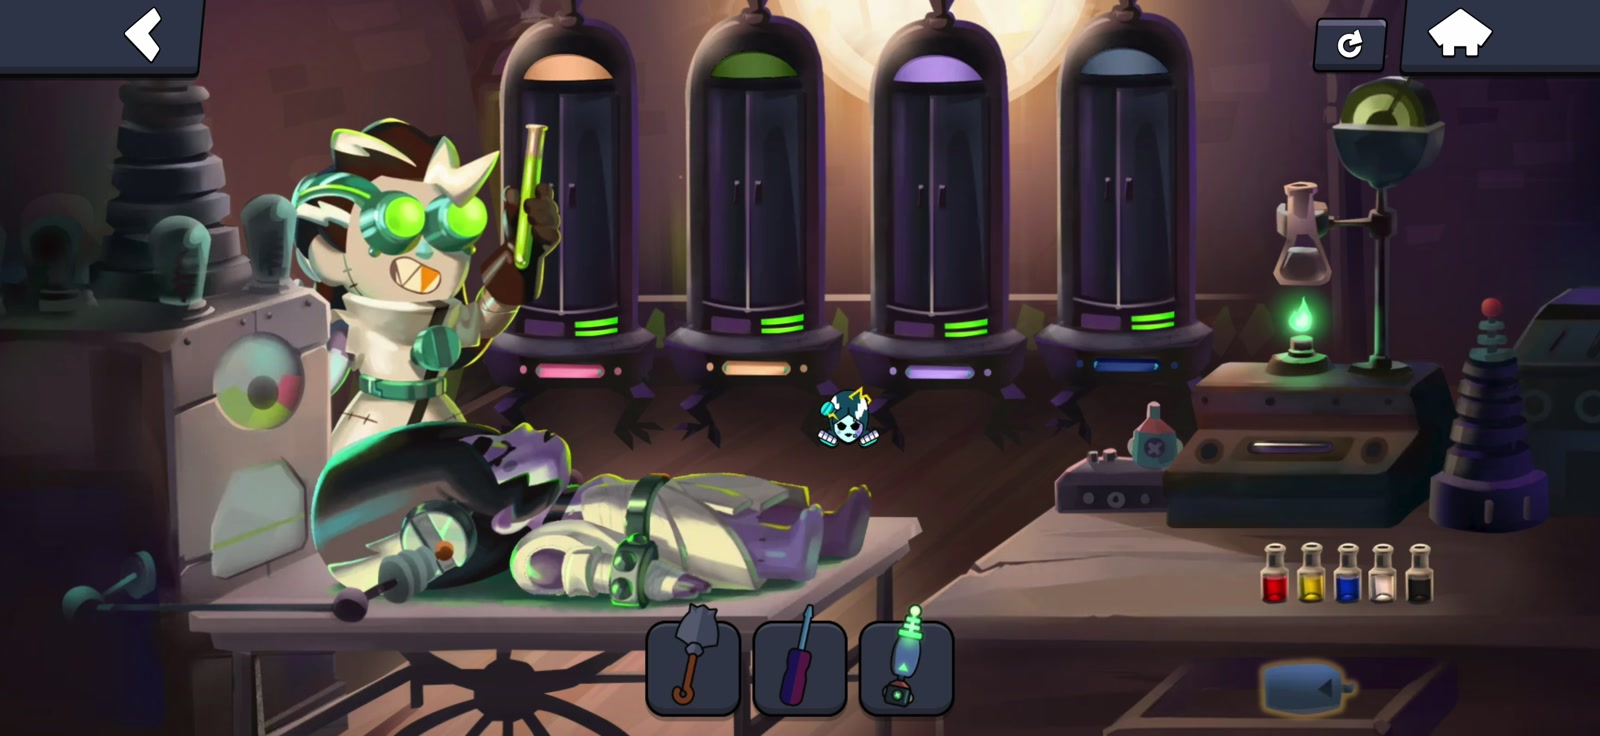

After claiming the pin, continue with the normal round-2 mixtures below.
4. Mix the second set of chamber colors
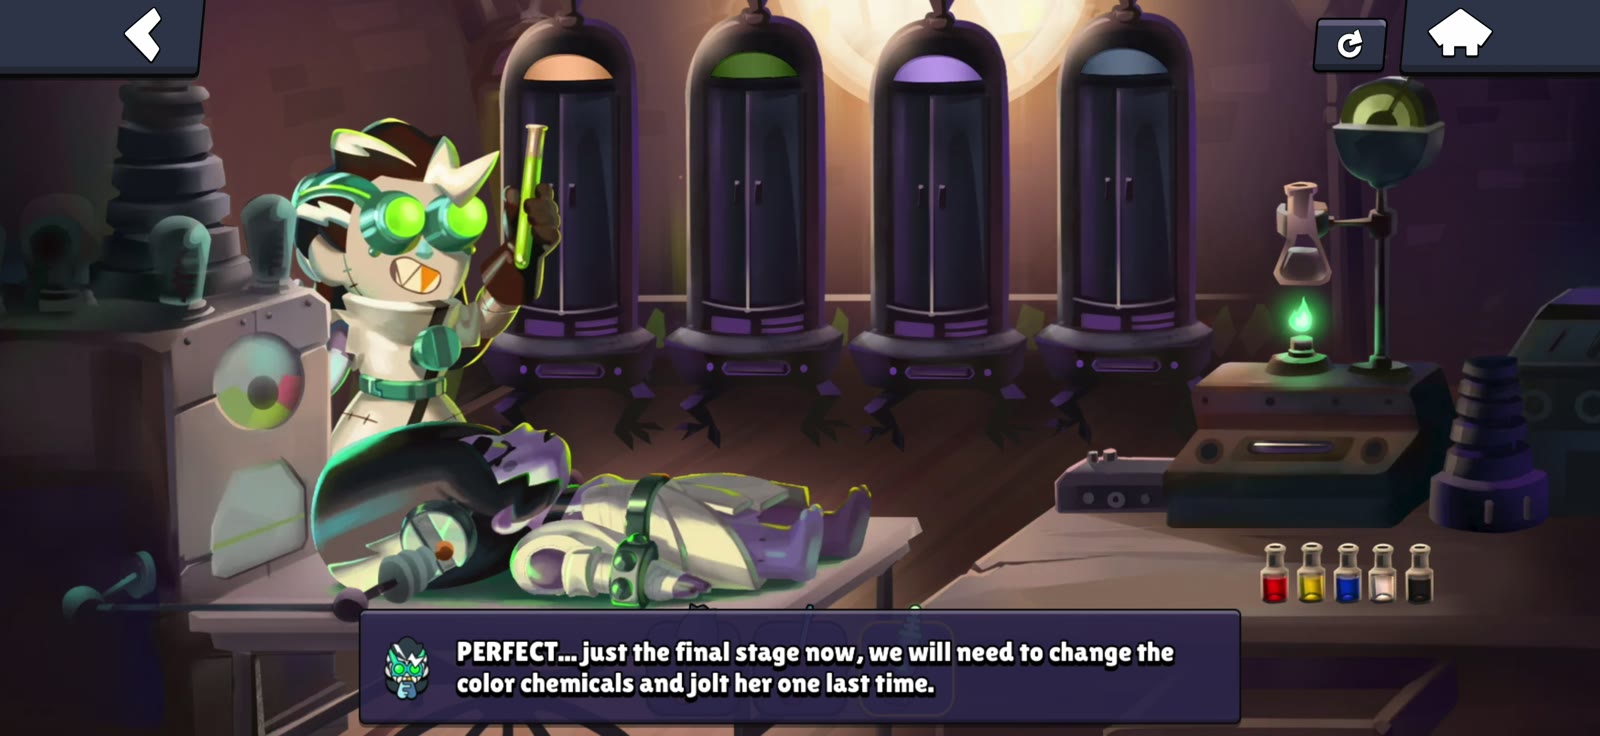
After the first generator sequence, the chambers close and their lamps change. This time, each correct mixture uses three bottles.
| Chamber | Target | Mix these bottles |
|---|---|---|
| 1 (left) | Peach | Red + Yellow + White |
| 2 | Olive green | Yellow + Blue + Black |
| 3 | Lavender | Red + Blue + White |
| 4 (right) | Slate | Blue + White + Black |
For each chamber, mix its ingredients, tap the beaker to fill the carry vial, drag the vial into the chamber's slot, and use the lightgun on its generator. The fourth recipe needs blue as well as white and black.
5. Follow the final generator order and claim the Chaos Drop
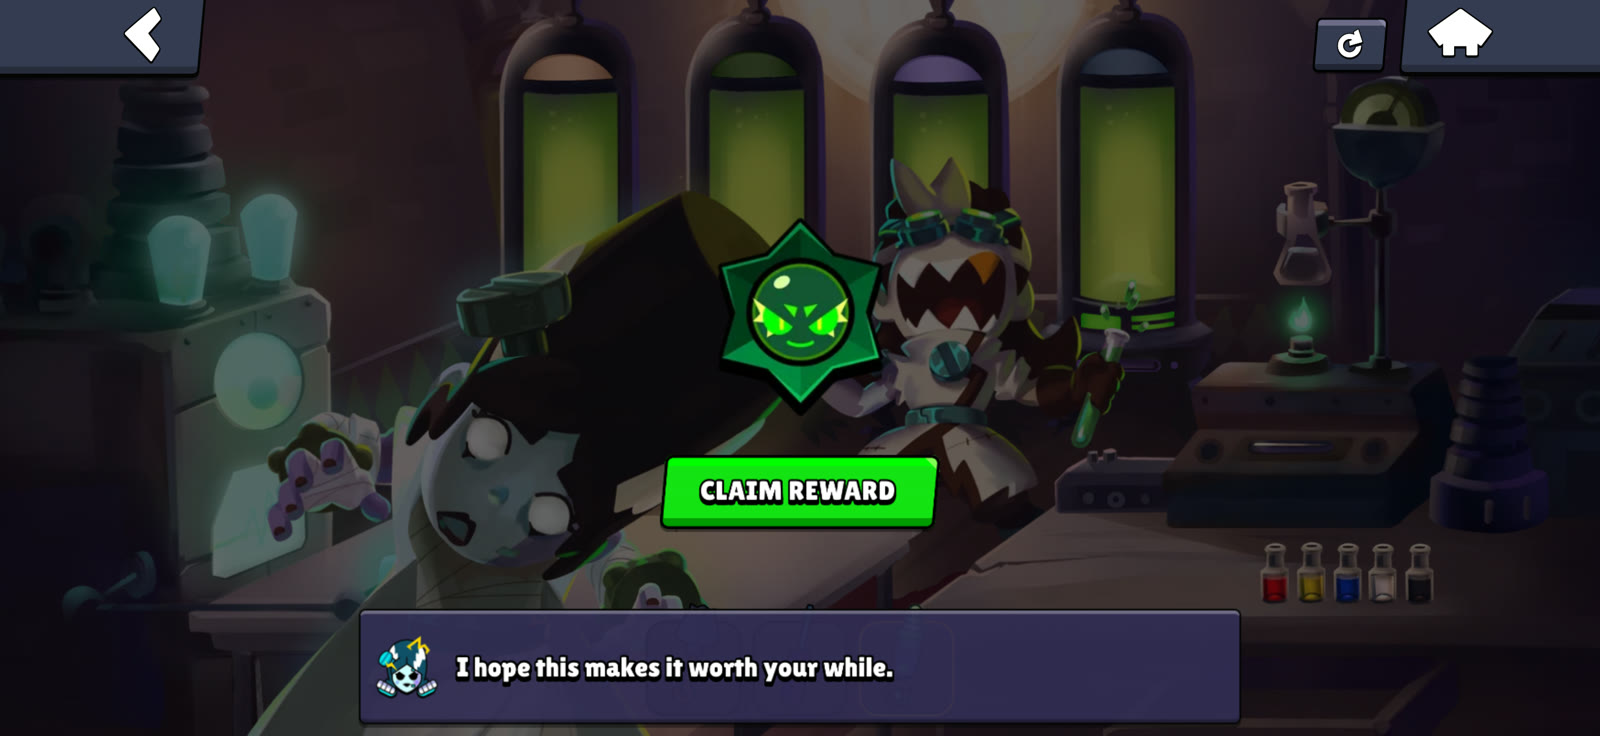
Once all four chambers are open again, Belle gives you a new randomized generator order. Use the lightgun on the four generator panels in that order. Our final order was 1 → 2 → 3 → 4; yours may differ.
Piper wakes up and the final dialogue begins. Continue through the prompts and tap Claim Reward for the Laboratory's Chaos Drop.
6. Return to the Hallway: light the candle at 3:00
Go back to the Mortuary map and enter the Hallway (Room 2). Belle's lightgun stays in your inventory. Finish the main Hallway story first if Damian is still there.
- Select the lightgun and use it on the wall candle above the radio.
- Use the clock's triangle buttons to set 3:00: hour hand at 3, minute hand at 12. The pendulum should already be installed from Stage 2.
- Tap the lit candle to pull it.
- The clock face opens to reveal a Starr Drop. Tap the reward to claim it.
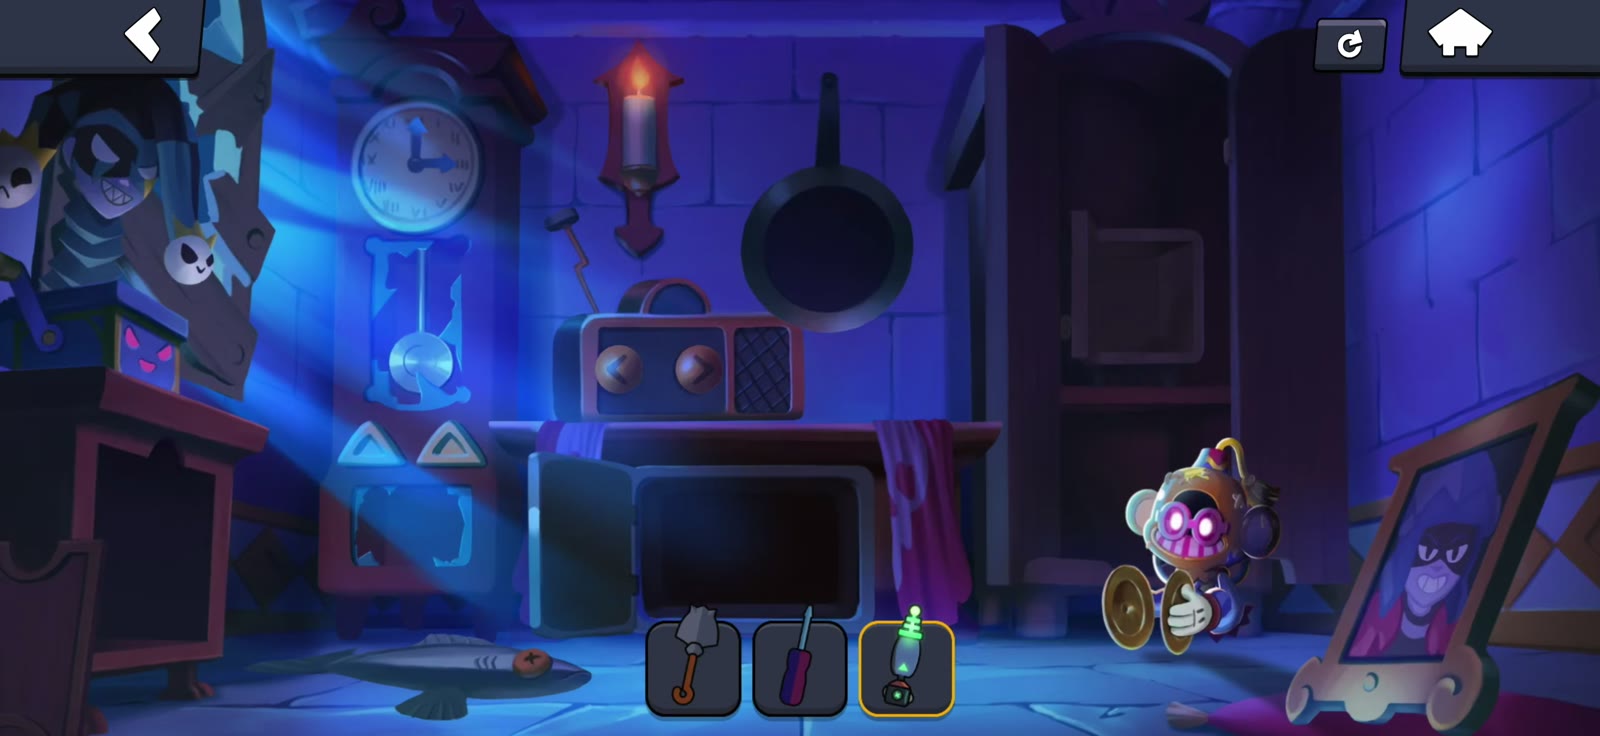
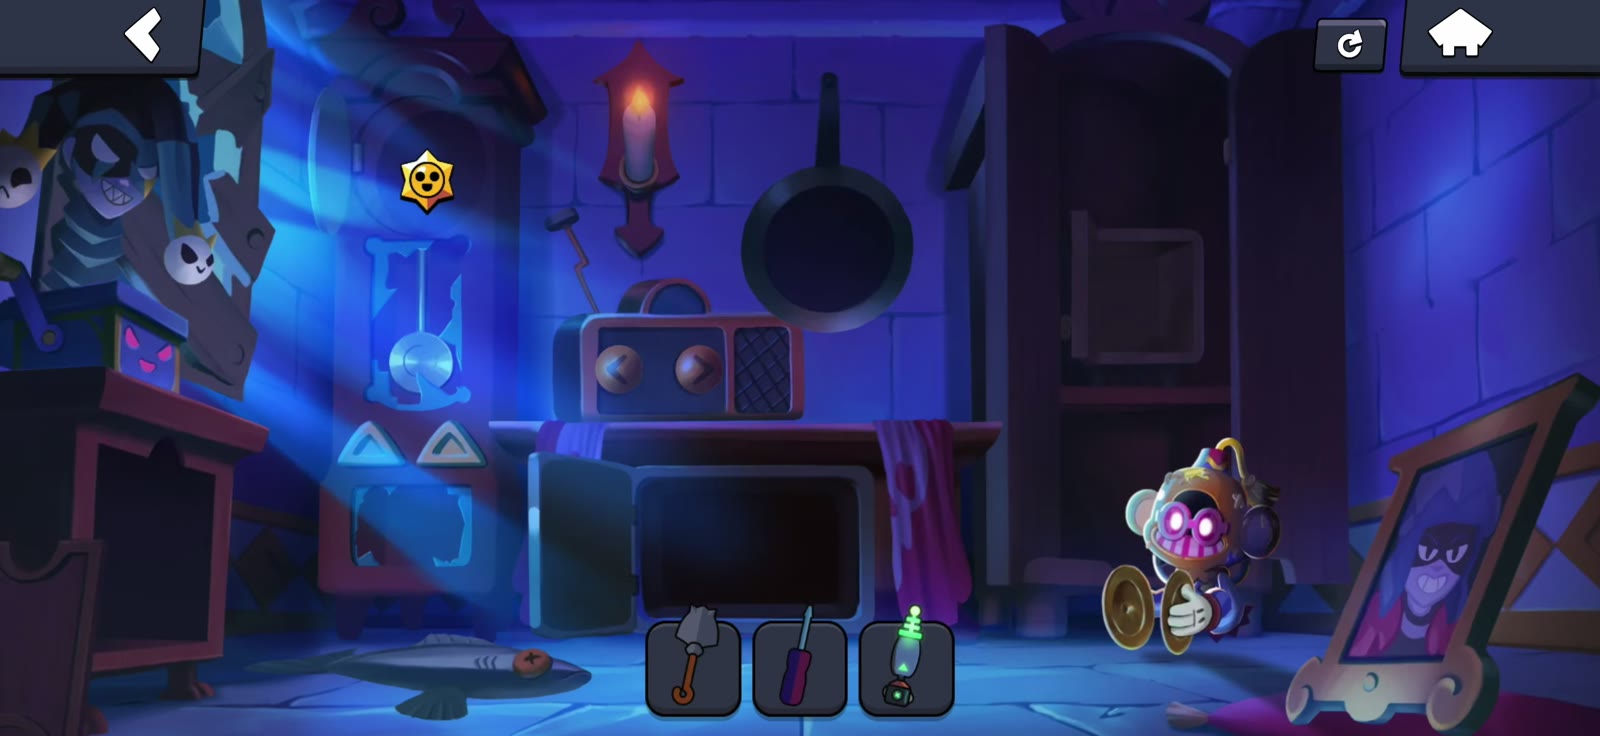
The first Hallway puzzle used 12:00. This bonus puzzle uses 3:00.
7. Supercharge the radio and switch to channel 10
Use Belle's lightgun on the repaired radio in the center of the table. The dialogue confirms that its dial can now reach 10.
Press the radio's right arrow until you reach channel 10. After the scare, the closet disappears and exposes a wall safe on the right.
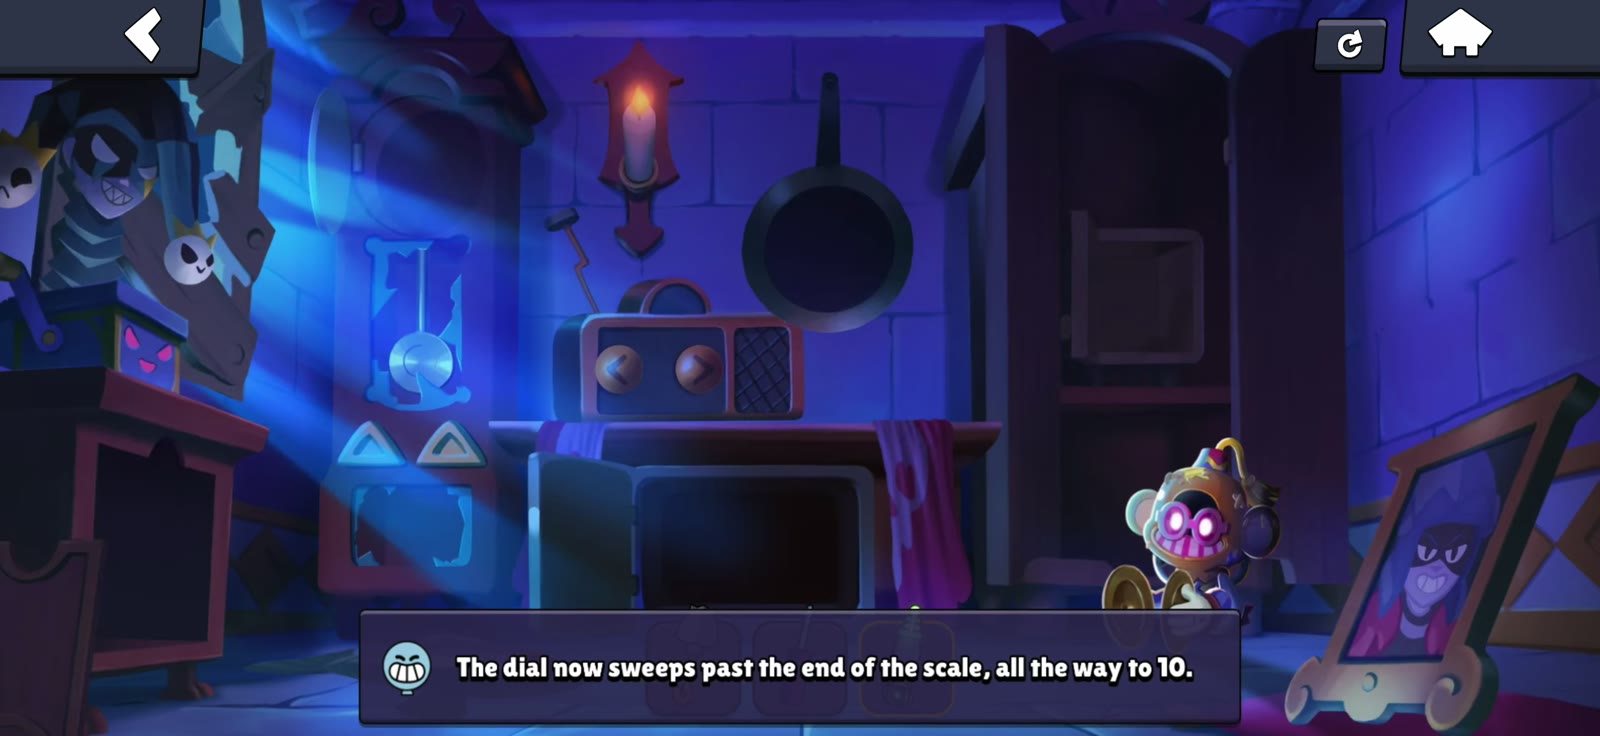
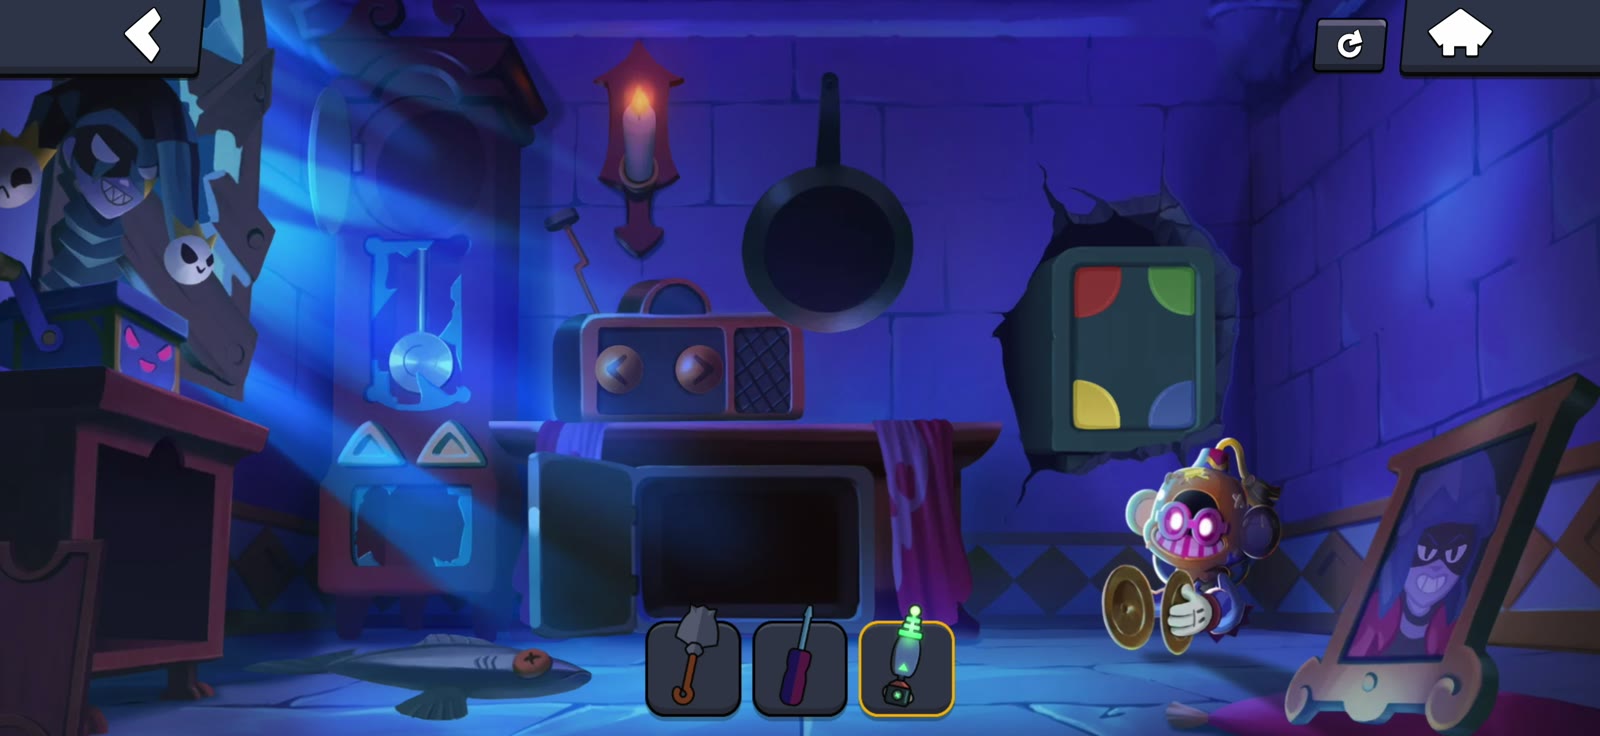
If the radio is still broken, attach its antenna and tighten it with the screwdriver first; the Hallway walkthrough covers the earlier repair.
8. Enter the wall-safe code for 100 Power Points
Tap each corner of the hidden wall safe until it shows this layout:
Red, Yellow, Purple, White is the answer, read across the top row and then the bottom row. Use yellow in the top-right corner.
The safe opens automatically when the layout is correct. Tap the reward inside to claim 100 Power Points.
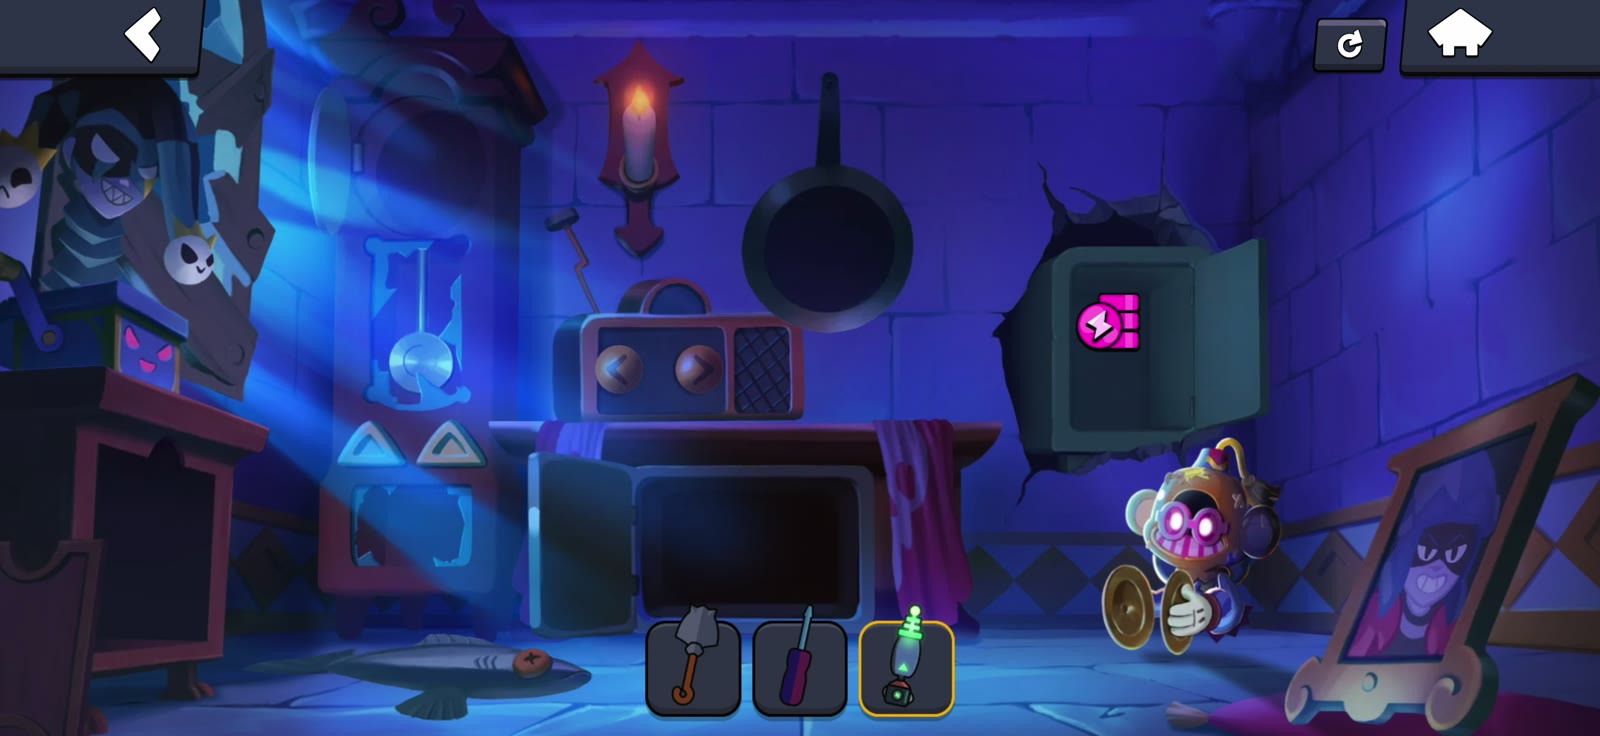

This is separate from the Damian pin safe under the table, which uses a different combination.
Find Gus Laboratory troubleshooting
- Why can I only add two colors?
- The first round allows two ingredients. Assemble Piper and finish Belle's first generator sequence to unlock three-ingredient mixtures.
- Why is a chamber still closed?
- Match its current lamp color, put the mixture in its slot, then zap the chamber with the lightgun.
- Why does the generator order not work?
- Read the sequence in your own game. Both orders are randomized. Count the chamber generators from left to right.
- Why will the Hallway candle not open the clock?
- Complete Damian's story, install the pendulum, light the candle with the gun, set 3:00, then tap the candle.
More free Brawl Stars rewards
Finished the Laboratory and Hallway secrets? Check our current reward links and QR codes for more free Brawl Stars rewards.
Browse free Brawl Stars rewards →Earlier stages: Find Gus entrance guide • Hallway guide and Damian pin.